ntryk
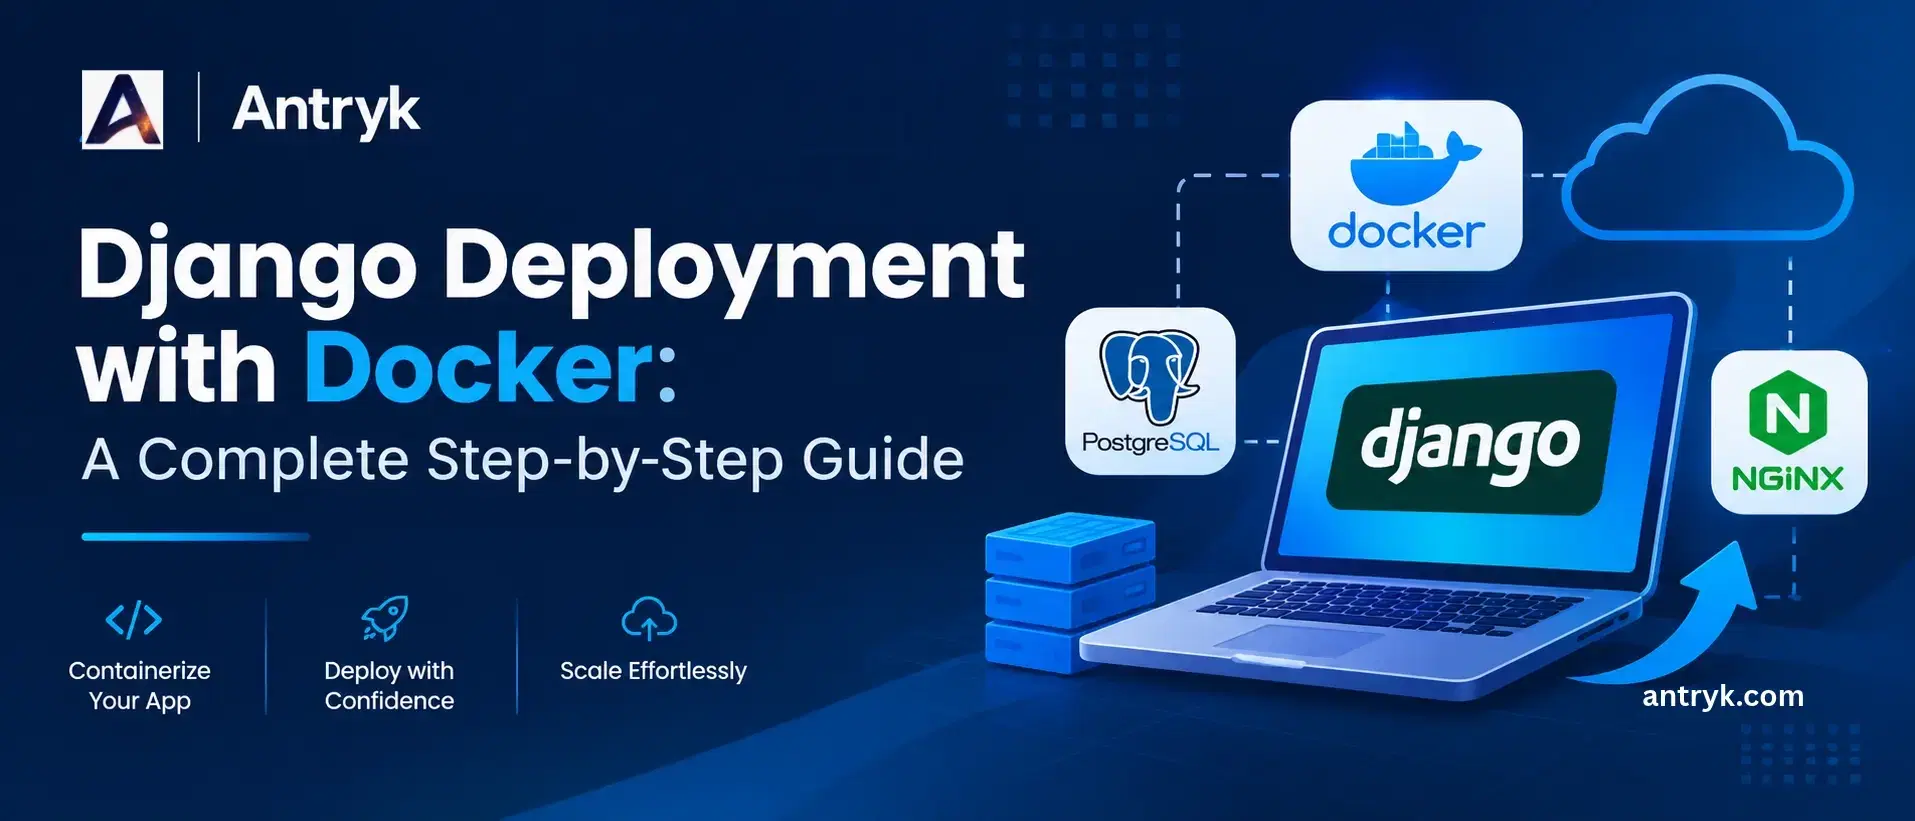
Django Deployment with Docker: A Complete Step-by-Step Guide#
Deploying a Django application involves more than writing code and running a development server. Developers need to configure dependencies, databases, environment variables, web servers, static files, and other infrastructure components to ensure an application works reliably in a production environment.
Managing these configurations across different environments can become challenging, especially when an application needs to move from a local development machine to a production server.
This is where Docker makes a significant difference.
Docker allows developers to package applications and their dependencies into lightweight, portable containers. Instead of manually configuring the application on every server, developers can create a consistent environment that runs across different platforms.
Django deployment with Docker is a practical approach to simplifying application deployment, improving consistency, and making infrastructure management more efficient.
In this guide, we will explore how to deploy a Django application using Docker, Docker Compose, PostgreSQL, Gunicorn, and Nginx. We will also cover common deployment challenges and best practices for running Django applications in production.
What Is Django Deployment with Docker?#
Django is a popular Python web framework used to develop secure, scalable, and maintainable web applications. It provides built-in features such as URL routing, database management, authentication, and an administrative interface.
However, running a Django application in production requires a properly configured hosting environment.
Docker simplifies this process through containerization.
Docker packages an application, its libraries, dependencies, and runtime configuration into a container. This container can then run consistently across different environments, provided the underlying system supports Docker.
When developers use Docker for Django deployment, they can create separate containers for different application components, including:
Django application
PostgreSQL database
Nginx web server
Background processing services
Caching services
These components communicate through a Docker network, making the application architecture easier to manage.
For example, a developer can configure a Django application to run inside one container and PostgreSQL inside another. Docker Compose can manage both services using a single configuration file.
This approach reduces environment-related inconsistencies and simplifies application deployment.
Why Use Docker for Django Applications?#
Before exploring the deployment process, it is important to understand why Docker is useful for Django development and production environments.
1. Consistent Development and Production Environments#
One common development challenge is the difference between local and production environments.
An application may work correctly on a developer's computer but fail after deployment because of differences in Python versions, system libraries, or dependencies.
Docker helps solve this problem by packaging the required runtime environment with the application.
Developers can use the same Docker configuration during development, testing, and production deployment.
2. Simplified Dependency Management#
Django applications often depend on multiple Python packages and system libraries.
Installing and maintaining these dependencies manually can become complicated.
Docker allows developers to define application dependencies in a Dockerfile and install Python packages using a requirements file.
This makes the deployment process more predictable and repeatable.
3. Application Portability#
Docker containers can run on different operating systems and cloud environments that support Docker.
For example, a Django application developed locally can be deployed to a Linux server or supported cloud infrastructure without manually recreating the entire environment.
This portability makes Docker particularly useful for teams managing multiple deployment environments.
4. Easier Application Scaling#
As application traffic increases, developers may need additional application instances to handle incoming requests.
Docker makes it easier to create and manage multiple application containers.
With an appropriate load-balancing and orchestration strategy, developers can scale Django services according to application requirements.
5. Improved Deployment Workflows#
Docker integrates with CI/CD tools to automate application testing, image building, and deployment.
Developers can create a deployment pipeline that builds a Docker image whenever application code changes and delivers the updated version to the target environment.
This reduces repetitive deployment tasks and supports faster software delivery.
Prerequisites for Django Docker Deployment#
Before starting the implementation, make sure the required tools are installed.
The following are the basic prerequisites:
Python: Python is required to develop and run Django applications.
Django: Install Django to create the web application.
Docker: Docker Engine or Docker Desktop is required to build and run containers.
Docker Compose: Docker Compose helps manage multiple application services using a YAML configuration file. Modern Docker installations generally include the Compose plugin.
Git: Git helps manage application source code and track changes.
Basic command-line knowledge: Familiarity with terminal commands makes the deployment process easier.
You should also understand basic Django concepts, including project structure, settings, database configuration, and URL routing.
Step-by-Step Guide to Deploy Django with Docker#
Now, let's build a Docker-based deployment environment for a Django application.
For this example, we will create a simple Django project and configure Docker Compose to manage the application and PostgreSQL database.
Step 1: Create a Django Project#
Start by creating a project directory.
Open your terminal and execute:
mkdir django-docker-project
cd django-docker-project
Create a Python virtual environment:
python -m venv venvActivate the virtual environment.
For Windows:
venv\Scripts\activateFor Linux and macOS:
source venv/bin/activateInstall Django and Gunicorn:
pip install django gunicornCreate a Django project:
django-admin startproject config .This creates the basic Django project structure.
Your directory should look similar to this:
django-docker-project/
│
├── config/
│   ├── __init__.py
│   ├── settings.py
│   ├── urls.py
│   ├── asgi.py
│   └── wsgi.py
│
├── manage.py
└── venv/
You can test the application locally:
python manage.py runserverOpen your browser and visit:
http://127.0.0.1:8000/If the Django welcome page appears, your project is ready for Docker configuration.
Step 2: Create a Requirements File#
A requirements file contains the Python packages needed by your application.
Generate it using:
pip freeze > requirements.txtThe file should include Django, Gunicorn, and other installed dependencies.
For example:
Django
gunicorn
psycopg[binary]
The PostgreSQL driver will allow Django to communicate with the database.
For reproducible deployments, pin package versions in the requirements file rather than relying on unpinned dependencies.
Step 3: Create a Dockerfile for Django#
The Dockerfile contains instructions for building the Django application image.
Create a file named Dockerfile in the project root directory.
Add the following configuration:
FROM python:3.12-slim

ENV PYTHONDONTWRITEBYTECODE=1
ENV PYTHONUNBUFFERED=1

WORKDIR /app

RUN apt-get update && apt-get install -y --no-install-recommends \
    gcc \
    libpq-dev \
    && rm -rf /var/lib/apt/lists/*

COPY requirements.txt .

RUN pip install --no-cache-dir -r requirements.txt

COPY . .

RUN addgroup --system django && \
    adduser --system --ingroup django django && \
    chown -R django:django /app

USER django

EXPOSE 8000

CMD ["gunicorn", "config.wsgi:application", "--bind", "0.0.0.0:8000"]
Let's understand the important instructions.
FROM: Specifies the base Python image.
ENV: Prevents Python from generating unnecessary bytecode files and ensures logs are displayed immediately.
WORKDIR: Sets the working directory inside the container.
RUN: Installs required system packages and Python dependencies.
COPY: Copies project files into the container.
USER: Runs the application using a non-root user.
EXPOSE: Documents the port used by the application.
CMD: Starts the Django application using Gunicorn, a production-grade WSGI server.
Using Gunicorn instead of Django's development server is important for production deployments.
Step 4: Create a .dockerignore File#
Not every project file needs to be included in a Docker image.
Create a .dockerignore file in the root directory:
venv/
__pycache__/
*.pyc
*.pyo
.git/
.env
*.sqlite3
.pytest_cache/
This prevents unnecessary files, local environments, and sensitive configuration files from being copied into the Docker build context.
Keeping the Docker build context small can also improve image-building efficiency.
Step 5: Configure Django Settings#
Django needs database connection details, security settings, and static file configuration to work correctly in production.
Open config/settings.py.
Update the following configuration.
Configure allowed hosts:
import os

ALLOWED_HOSTS = os.environ.get(
    "DJANGO_ALLOWED_HOSTS", "localhost,127.0.0.1"
).split(",")
Configure the secret key:
SECRET_KEY = os.environ["DJANGO_SECRET_KEY"]Avoid storing production secret keys directly in source code.
Configure debug mode:
DEBUG = os.environ.get("DJANGO_DEBUG", "False") == "True"Debug mode should remain disabled in production.
Configure PostgreSQL:
DATABASES = {
    "default": {
        "ENGINE": "django.db.backends.postgresql",
        "NAME": os.environ.get("POSTGRES_DB"),
        "USER": os.environ.get("POSTGRES_USER"),
        "PASSWORD": os.environ.get("POSTGRES_PASSWORD"),
        "HOST": os.environ.get("POSTGRES_HOST", "db"),
        "PORT": os.environ.get("POSTGRES_PORT", "5432"),
    }
}
Here, db is the Docker Compose service name for PostgreSQL. Docker Compose automatically provides service discovery between containers on the same network.
Configure static files:
STATIC_URL = "/static/"
STATIC_ROOT = BASE_DIR / "staticfiles"
Django's collectstatic command will collect static assets into the directory specified by STATIC_ROOT.
Step 6: Configure Docker Compose#
Docker Compose allows developers to define and manage multiple containers using one YAML file.
Create a file named compose.yaml in the project root directory.
Add the following configuration:
services:

  web:
    build: .
    command: gunicorn config.wsgi:application --bind 0.0.0.0:8000
    env_file:
      - .env
    ports:
      - "8000:8000"
    depends_on:
      db:
        condition: service_healthy
    volumes:
      - static_volume:/app/staticfiles

  db:
    image: postgres:16
    restart: unless-stopped
    environment:
      POSTGRES_DB: ${POSTGRES_DB}
      POSTGRES_USER: ${POSTGRES_USER}
      POSTGRES_PASSWORD: ${POSTGRES_PASSWORD}
    volumes:
      - postgres_data:/var/lib/postgresql/data
    healthcheck:
      test: ["CMD-SHELL", "pg_isready -U ${POSTGRES_USER} -d ${POSTGRES_DB}"]
      interval: 10s
      timeout: 5s
      retries: 5

volumes:
  postgres_data:
  static_volume:
This configuration defines two services.
Web service: Builds the Django application image, runs Gunicorn, and exposes port 8000.
Database service: Runs PostgreSQL and stores database information in a persistent Docker volume.
The depends_on health condition ensures that Docker Compose waits for PostgreSQL to become healthy before starting the web service.
However, production applications should still handle database reconnection and temporary connection failures gracefully.
Step 7: Create Environment Variables#
Create a .env file in the project root directory.
Add the following example configuration:
DJANGO_SECRET_KEY=replace-with-a-long-random-secret
DJANGO_DEBUG=False
DJANGO_ALLOWED_HOSTS=localhost,127.0.0.1

POSTGRES_DB=django_db
POSTGRES_USER=django_user
POSTGRES_PASSWORD=replace-with-a-strong-password
POSTGRES_HOST=db
POSTGRES_PORT=5432
These variables allow the application and database containers to access their required configuration.
For security:
Never commit
.envfiles to public repositories.Use strong, randomly generated passwords.
Store production secrets in a secure secrets manager.
Restrict access to deployment credentials.
The values above are examples and should be replaced before deployment.
Step 8: Build and Run Docker Containers#
Now that the configuration is ready, build the Docker image.
Execute:
docker compose buildThis command reads the Dockerfile and creates the application image.
Start the containers:
docker compose up -dThe -d option runs the containers in the background.
Check whether the containers are running:
docker compose psView application logs:
docker compose logs -f webIf the containers start successfully, Django should be accessible at:
http://localhost:8000/You can now test the application through your browser.
Step 9: Run Database Migrations#
Django uses migrations to create and update database tables based on application models.
Run the following command:
docker compose exec web python manage.py migrateThis applies the pending migrations to PostgreSQL.
If you need to create an administrator account, execute:
docker compose exec web python manage.py createsuperuserFollow the instructions to create the username, email address, and password.
You can then access the Django administration panel at:
http://localhost:8000/admin/Step 10: Collect Static Files#
Django applications often include CSS, JavaScript, and image files.
In production, these files should be collected and served separately from dynamic application requests.
Run:
docker compose exec web python manage.py collectstatic --noinputThe command collects static assets into the directory configured by STATIC_ROOT.
For a production setup, Nginx can serve these files using the shared Docker volume.
Step 11: Configure Nginx as a Reverse Proxy#
Nginx is commonly used in production Django deployments as a reverse proxy.
It receives incoming HTTP requests and forwards dynamic application requests to Gunicorn.
Create an nginx directory and add a file named default.conf.
Use the following configuration:
server {
    listen 80;
    server_name example.com;

    location /static/ {
        alias /app/staticfiles/;
    }

    location / {
        proxy_pass http://web:8000;
        proxy_set_header Host $host;
        proxy_set_header X-Real-IP $remote_addr;
        proxy_set_header X-Forwarded-For $proxy_add_x_forwarded_for;
        proxy_set_header X-Forwarded-Proto $scheme;
    }
}
Replace example.com with your actual domain.
Next, update the compose.yaml file to include an Nginx service:
  nginx:
    image: nginx:stable
    ports:
      - "80:80"
    volumes:
      - ./nginx/default.conf:/etc/nginx/conf.d/default.conf:ro
      - static_volume:/app/staticfiles:ro
    depends_on:
      - web
Also remove the public ports mapping from the Django web service if Nginx will be the only public entry point. The services can communicate over their shared Docker network without exposing Gunicorn directly to the host.
Restart the application:
docker compose up -d --buildNow, incoming HTTP requests reach Nginx first, which forwards application traffic to Gunicorn.
For a public production deployment, configure HTTPS using a valid TLS certificate and redirect HTTP traffic to HTTPS.
Common Django Docker Deployment Errors and Solutions#
Even with the correct configuration, developers may encounter issues during deployment.
Understanding common errors can help reduce troubleshooting time.
1. Database Connection Errors#
Problem: Django cannot connect to the PostgreSQL database.
Possible causes:
Incorrect database credentials.
Wrong database hostname.
PostgreSQL is not ready.
Database configuration mismatch.
Solution:
Verify the environment variables in the .env file.
Make sure the database hostname matches the Docker Compose service name.
For example:
POSTGRES_HOST=dbCheck the database logs:
docker compose logs db2. Static Files Are Not Loading#
Problem: CSS, JavaScript, and image files are missing after deployment.
Possible causes:
Static files have not been collected.
Incorrect
STATIC_ROOTconfiguration.Nginx alias path does not match the mounted volume.
Solution:
Run:
docker compose exec web python manage.py collectstatic --noinputThen verify that the Nginx configuration points to the correct static directory.
3. Port Already in Use#
Problem: Docker cannot start because the requested port is already occupied.
Solution:
Check which application is using the port or change the host-side port mapping.
For example:
ports:
  - "8080:80"
The application will then be accessible through port 8080.
4. Docker Build Failures#
Problem: Docker cannot install dependencies or build the application image.
Solution:
Check the requirements file, Python version, and system dependencies.
Rebuild the image after correcting the configuration:
docker compose build --no-cache5. Container Keeps Restarting#
Problem: The application container repeatedly stops and restarts.
Solution:
Inspect application logs:
docker compose logs webLook for missing environment variables, incorrect startup commands, application import errors, or database connectivity problems.
Django Docker Deployment Best Practices#
A working deployment is only the first step. Production applications also need to be secure, maintainable, and reliable.
Consider the following best practices.
1. Use Environment Variables for Sensitive Information#
Never hardcode database passwords, secret keys, or API credentials in application source code.
Use environment variables or a secure secrets management solution to provide sensitive configuration at runtime.
2. Use Multi-Stage Docker Builds When Appropriate#
Multi-stage builds help reduce the final image size by separating build-time dependencies from runtime requirements.
Smaller images can improve deployment efficiency and reduce unnecessary software components.
3. Run Containers as Non-Root Users#
Avoid running Django application processes with root privileges.
Using a dedicated non-root user helps reduce security risks if an application or container is compromised.
4. Use Persistent Database Storage#
Database containers should use persistent storage.
Without persistent volumes, database information may be lost when containers are removed or recreated.
Regular backups are also essential for production applications.
5. Enable HTTPS#
Protect communication between users and the application with HTTPS.
Configure Nginx or an appropriate reverse proxy with valid TLS certificates.
Also configure Django's secure cookie and HTTPS-related settings appropriately for your infrastructure.
6. Monitor Application Performance#
Monitor application logs, server resources, database performance, and response times.
Monitoring helps identify performance issues before they significantly affect users.
7. Keep Dependencies Updated#
Regularly update Django, Python packages, Docker base images, and system dependencies.
Use dependency scanning and security checks to identify known vulnerabilities.
8. Automate Deployment with CI/CD#
Integrate Docker with a CI/CD pipeline to automate testing, image building, and deployment.
This makes releases more consistent and reduces manual errors.
Benefits of Docker for Production Django Applications#
Using Docker for Django deployment provides several advantages for development teams and businesses.
Faster application deployment: Container images make it easier to package and release applications.
Improved consistency: Developers can maintain similar environments across development, testing, and production.
Better infrastructure management: Docker Compose simplifies the management of application services.
Flexible scalability: Containerized applications can be replicated and managed through suitable infrastructure.
Simplified collaboration: Developers can share Docker configurations instead of manually explaining environment setup.
Better CI/CD integration: Docker supports automated software delivery workflows.
These advantages make Docker a useful technology for teams developing and maintaining modern Django applications.
Conclusion#
Deploying a Django application requires careful management of application dependencies, databases, web servers, static files, and security configurations.
Docker simplifies this process by packaging the application and its dependencies into portable containers. When combined with Docker Compose, PostgreSQL, Gunicorn, and Nginx, it provides a structured approach to managing Django deployment environments.
By following the steps in this guide, developers can build a containerized Django application and establish a foundation for production deployment.
However, successful deployment also depends on proper security configuration, persistent database storage, HTTPS, monitoring, backups, and regular maintenance.
For businesses and development teams looking to build reliable web applications, adopting Docker-based deployment practices can make application delivery more consistent and manageable.
At Antryk, understanding modern development and deployment technologies is essential to building efficient digital solutions. Explore how the right development practices and technologies can help your business create scalable, reliable, and maintainable applications.
Frequently Asked Questions (FAQs)#
1. Can Django run inside a Docker container?#
Yes. Django can run inside a Docker container with Python, its required dependencies, and a suitable application server. Docker packages these components into an isolated environment that can run across supported platforms.
2. Why should I use Docker for Django deployment?#
Docker helps maintain consistent environments, simplifies dependency management, improves application portability, and supports automated deployment workflows.
3. What is Docker Compose in Django?#
Docker Compose is a tool used to define and manage multiple Docker services. In Django projects, it can manage the application, PostgreSQL database, Nginx, and other supporting services through a single YAML configuration file.
4. Can I use PostgreSQL with Django and Docker?#
Yes. Django supports PostgreSQL as a database backend. You can run PostgreSQL in a separate Docker container and connect it to Django through Docker Compose networking.
5. Is Docker suitable for production Django applications?#
Yes. Docker is suitable for production Django applications when configured correctly. Production deployments should include a proper application server, secure environment variables, persistent storage, HTTPS, monitoring, and database backups.
6. What is the difference between Gunicorn and Nginx in Django deployment?#
Gunicorn runs the Django application and processes WSGI requests. Nginx acts as a reverse proxy, forwarding incoming requests to Gunicorn and serving static files. Both work together in a common production architecture.
7. Can Docker help scale Django applications?#
Yes. Docker makes it easier to run multiple instances of a Django application. With load balancing and suitable container orchestration, developers can distribute incoming traffic across application instances.